Installing or Updating on a Network


The First Time

  1. For each workstation, follow the procedures in helpinstall.html to install the software on the local hard drive.
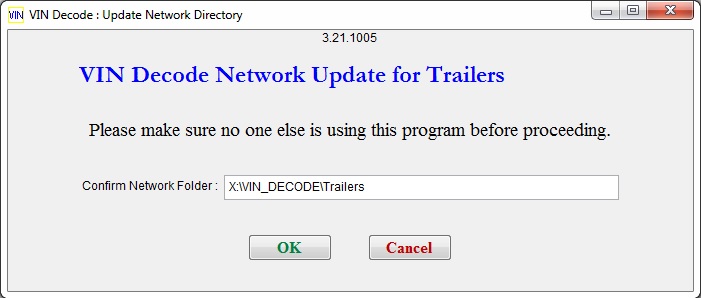
  2. Locate or create a shared folder for the specified program. Remember that the trailer and truck programs must not be in the same folder.
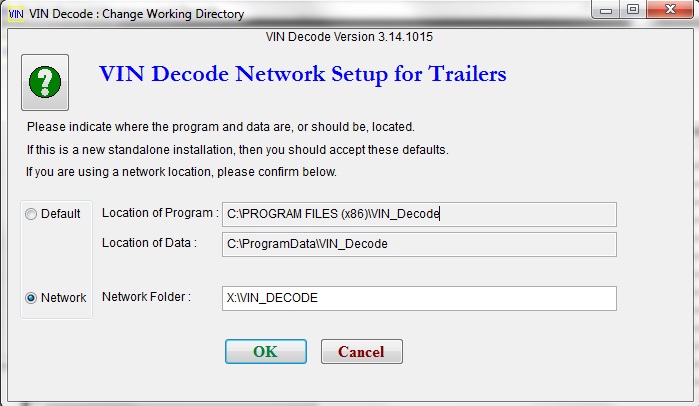
  3. On each workstation, use the network setup screen to specify that folder. If one of the workstations already has live data, do the setup there first. (View screen)
  4. After you have set up each computer, confirm that there is only one shortcut on the desktop. It should reference the network location. If there is another one, specifying the C drive, delete it.
Screen Image

Updating an Existing Network Setup

  1. Choose a workstation and follow the procedures in helpinstall.html to install the updated program locally on that computer.
  2. On the same workstation, run the program using the existing shortcut that uses the shared folder. The program should detect the new program on the local hard drive and show a screen to confirm the network location.
  3. Other workstations that already have a shortcut using the network folder should be all set, with no further action required on your part.
Screen Image

Adding a New Computer to the Network

  1. On the new workstation, follow the usual procedures in helpinstall.html to install the software on the local hard drive.
  2. Run the newly installed program and use the network setup screen as above.


Copyright © 2021 Express Software Production
Last Updated: October 26, 2021